How to Build a Custom Reptile Enclosure
A good reptile enclosure keeps your pet safe, healthy, and happy. But a great enclosure? That one fits your home, matches your reptile’s exact needs, and might even save you money in the long run. If you’ve ever looked at store-bought terrariums and thought, “I could do that better,” this guide is for you.
In this post, you’ll learn how to build a reptile enclosure from scratch — whether you’re creating a small gecko tank or a walk-in iguana paradise. We’ll cover everything from planning and materials to tools and assembly. By the end, you’ll have the confidence (and the checklist) to start your own DIY reptile tank project at home.
Why Build a Homemade Reptile Cage?

There are plenty of ready-made options out there. So why take the time to build your own?
Benefits of Going DIY:
- Custom size to fit your pet and your space
- Better airflow and humidity control
- Save money compared to high-end tanks
- More durable materials than some retail cages
- Design freedom — make it blend with your furniture or theme
- Fun project that builds new skills
Whether you’re housing a chameleon, snake, gecko, or dragon — a homemade reptile cage lets you build exactly what they need.
Step 1: Plan Your Enclosure
Start by asking a few simple questions:
- What species will live here?
- How big does it need to be (now and full-grown)?
- Does it need high humidity or airflow?
- Will it be front-opening or top-access?
- What is your budget?
General Size Guide:
Reptile Type Recommended Enclosure Size Leopard Gecko 24x18x18 inches Ball Python 36x18x18 inches Bearded Dragon 48x24x24 inches Green Iguana 72x48x72 inches
When in doubt, bigger is better — especially for active or arboreal species.
Step 2: Choose Your Materials
Choosing the right materials will affect your cage’s durability, weight, and heat/humidity retention.
Common Frame Materials:
- Plywood: Strong and affordable. Seal it for humidity resistance.
- Melamine: Heavy but very smooth and water-resistant.
- PVC Sheets: Lightweight, durable, easy to clean (a top-tier choice).
- Glass panels: Great for visibility, but harder to work with.
- Acrylic sheets: Lighter than glass and easy to shape.
For Ventilation:
- Metal mesh (hardware cloth)
- Plastic mesh (fine for small lizards)
- Pre-made vents or fan covers
Other Supplies:
- Screws and corner brackets
- Wood glue or silicone (non-toxic, aquarium-safe)
- Hinges and latches for doors
- Weatherstripping (for sealing gaps)
- Screen doors or acrylic panels (for access)
Step 3: Gather Your Tools
Most basic enclosures can be built with simple tools:
- Circular saw or jigsaw (to cut wood/PVC)
- Drill and drill bits
- Screwdriver
- Measuring tape
- Sandpaper or power sander
- Safety glasses and gloves
- Clamps (to hold panels while gluing or screwing)
If you don’t have these tools, consider borrowing from a friend or renting from a local hardware store.
Step 4: Build the Frame
Now it’s time to bring your plan to life.
Basic Assembly Steps:
- Cut your panels to size (top, bottom, sides, back, and front).
- Drill pilot holes to prevent splitting.
- Assemble the base and secure the sides with screws.
- Attach the back wall and then the top.
- Leave the front open for installing doors or sliding panels.
- Add braces or supports for larger enclosures.
Use waterproof wood glue or silicone in all seams to strengthen the structure and seal gaps.
Step 5: Add Doors and Ventilation
Door Options:
- Hinged acrylic doors: Easy to clean and see through
- Sliding glass panels: Great for front-opening setups
- Mesh screen doors: Good for airflow in tropical or desert tanks
Adding Vents:
- Cut holes in side or top panels
- Cover with mesh or vent covers
- Add a small USB fan for airflow in larger tanks
Tip: Place vents near the top and bottom for natural air circulation.
Step 6: Seal and Waterproof
If you’re building a humid or tropical enclosure, this step is a must.
Sealing Tips:
- Use non-toxic silicone in all inner seams
- Apply a few coats of polyurethane or pond liner sealant to plywood
- Let all materials cure for 48–72 hours before adding pets
This prevents swelling, mould, or damage from misting or spills.
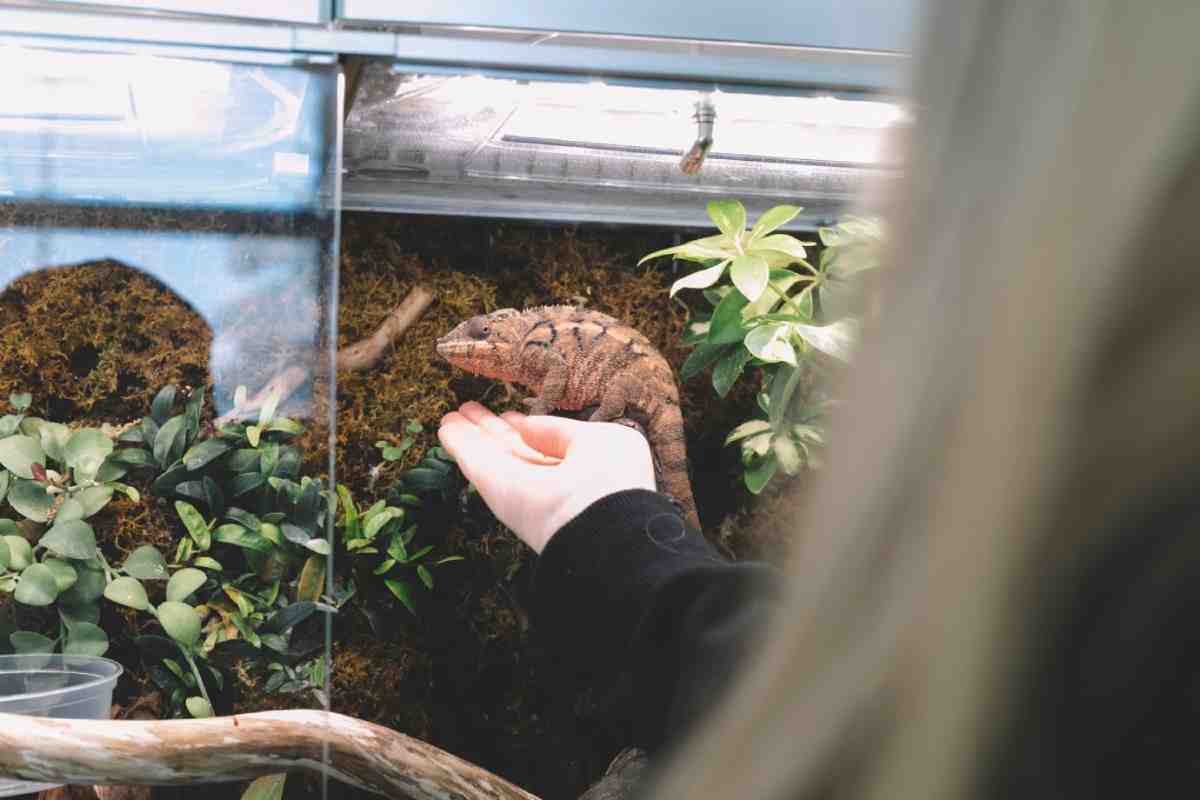
Step 7: Install Lighting, Heating, and Décor

Your enclosure’s frame is done — now let’s make it livable.
Lighting:
- Install UVB lights inside the cage, not behind glass
- Use LED or daylight bulbs for natural light effect
- Mount lights securely with brackets or clips
Heating:
- Use ceramic heat emitters, heat mats, or basking bulbs
- Connect all heat sources to a thermostat
- Use thermometers to monitor both hot and cool zones
Decor & Enrichment:
- Branches, hides, basking spots, rocks
- Moist hides or moss boxes (for shedding)
- Backgrounds and fake plants for comfort
- Secure water and food dishes
Make sure all décor is safe, stable, and easy to clean.
Step 8: Test Everything Before Use
Before adding your reptile:
- Run lighting and heating for 24–48 hours
- Check for temperature consistency
- Confirm humidity levels with a hygrometer
- Watch for hot spots or cold zones
- Check door locks and seals for safety
Only introduce your pet when everything is safe and stable.
Tips for Success
- Keep screws flush or countersunk to prevent injury
- Use clear silicone to seal without making it look messy
- Paint or stain the outside only — never the inside
- Label wires and thermostats for easy tracking
- Take progress photos — they’re fun to look back on!
Build with Care, Enjoy for Years

Creating a DIY reptile tank takes time and patience, but the results are worth it. A well-built homemade reptile terrarium not only meets your pet’s specific needs — it also becomes a piece of your home you can be proud of.
Whether you’re housing a gecko, snake, or large lizard, your custom enclosure can offer better comfort, better control, and a more engaging experience for both you and your reptile.