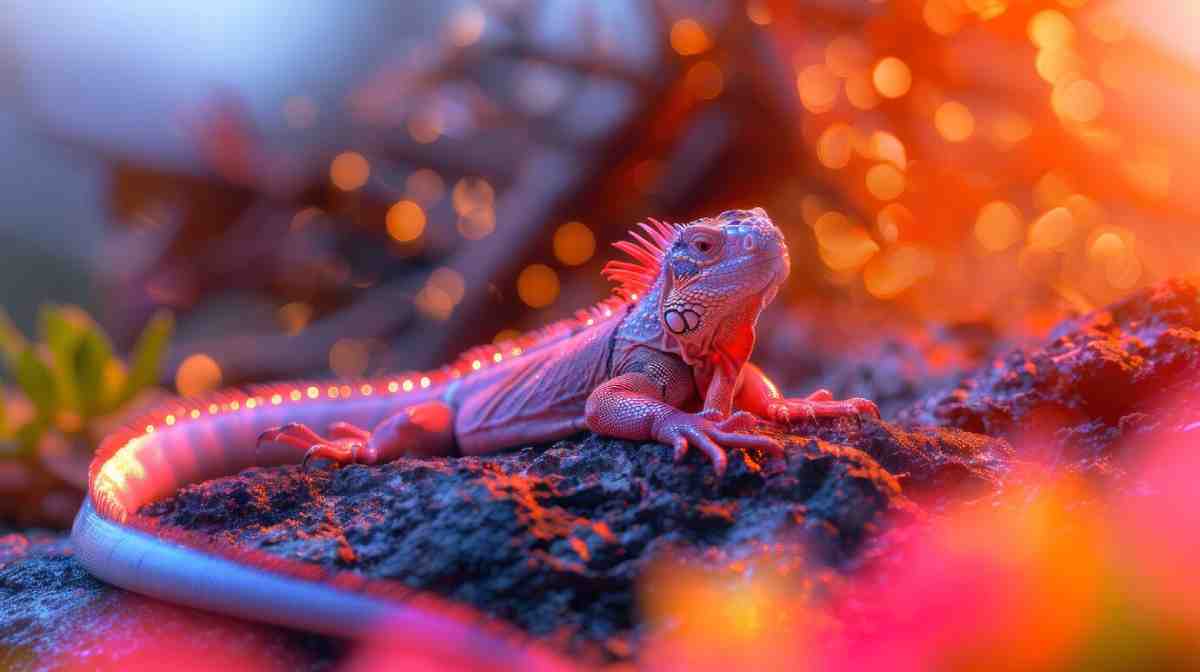
First Aid Tips for Minor Reptile Injuries
Reptiles may seem tough on the outside, but they’re not immune to injury. From small cuts and broken nails to lost tail tips or stuck sheds, even the best-kept reptiles can get hurt. Knowing basic reptile first aid helps you respond calmly and prevent small problems from becoming big ones.
In this guide, you’ll learn how to treat minor wounds, manage emergencies until you reach a vet, and build a basic exotic pet injury care kit. These tips can make a huge difference in your pet’s recovery and comfort — and help you feel more confident as a keeper.
Why First Aid Matters for Reptile Owners

Reptiles hide pain well. They don’t cry or limp like other pets might. That means even a small injury can go unnoticed — or get worse — if not treated quickly.
Reptile first aid isn’t about replacing a vet. It’s about supporting healing, preventing infection, and stabilising your pet until professional care is available.
Acting fast with minor injuries can prevent stress, infection, and costly complications later.
Common Minor Injuries in Reptiles
Let’s start with the types of injuries you may see — and when they need vet care.
1. Superficial Cuts or Scrapes
- Often caused by rough tank décor, sharp nails, or falls
- Appear as surface wounds with little or no bleeding
2. Torn or Cracked Nails
- Common in climbing lizards or when nails catch on carpet or mesh
- May cause light bleeding but usually heals on its own
3. Minor Burns
- Caused by direct contact with heat lamps or overheated rocks
- Usually seen as red, white, or blistered patches
4. Tail Injuries or Drops
- Some reptiles drop tails when stressed or injured
- Needs careful cleaning but usually not an emergency
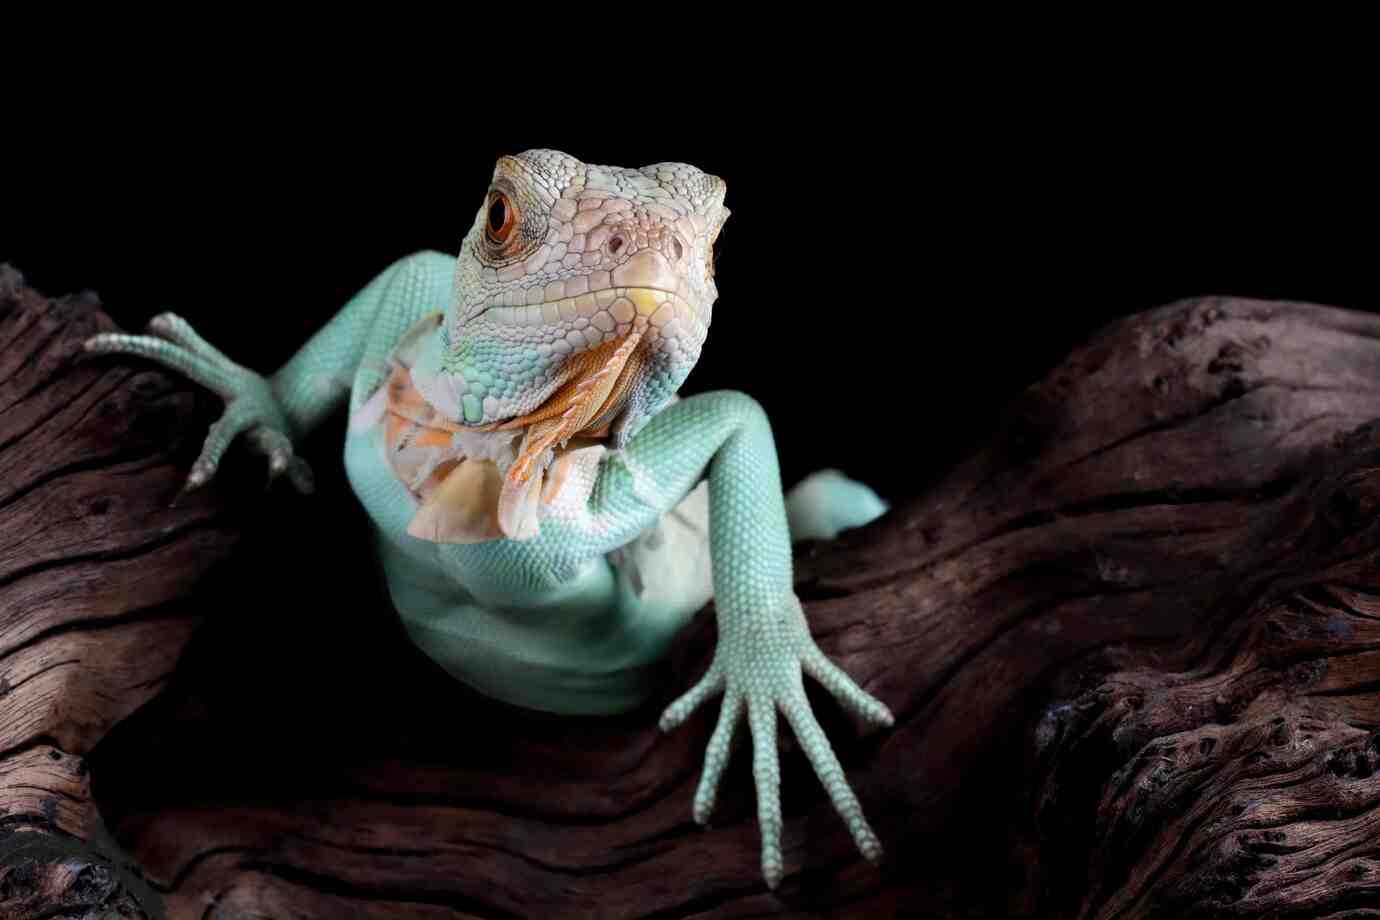
5. Stuck Shed (Dysecdysis)
- When skin doesn’t come off properly during shedding
- Can affect toes, tails, and eyes — leading to injury if left untreated
What to Include in Your Reptile First Aid Kit

Having a dedicated kit saves time when emergencies happen. Here’s what to include:
Basic First Aid Supplies:
- Sterile saline solution (for cleaning wounds)
- Chlorhexidine or betadine solution (antiseptic — diluted only!)
- Cotton pads or gauze
- Non-stick wound dressings
- Tweezers (for stuck shed or splinters)
- Blunt-tip scissors
- Small feeding syringe (for hydration or medication)
- Veterinary antiseptic ointment (no painkillers — avoid lidocaine!)
- Digital thermometer (to check enclosure temperatures)
- Styptic powder or cornstarch (to stop bleeding)
- Clean plastic tub or travel container
- Notebook for symptoms and vet notes
Keep your kit in a labelled container and check it monthly for expired products.
Related Reading: Proper Insect Feeding for Carnivorous Reptiles – Reduce bite-related injuries during feeding.
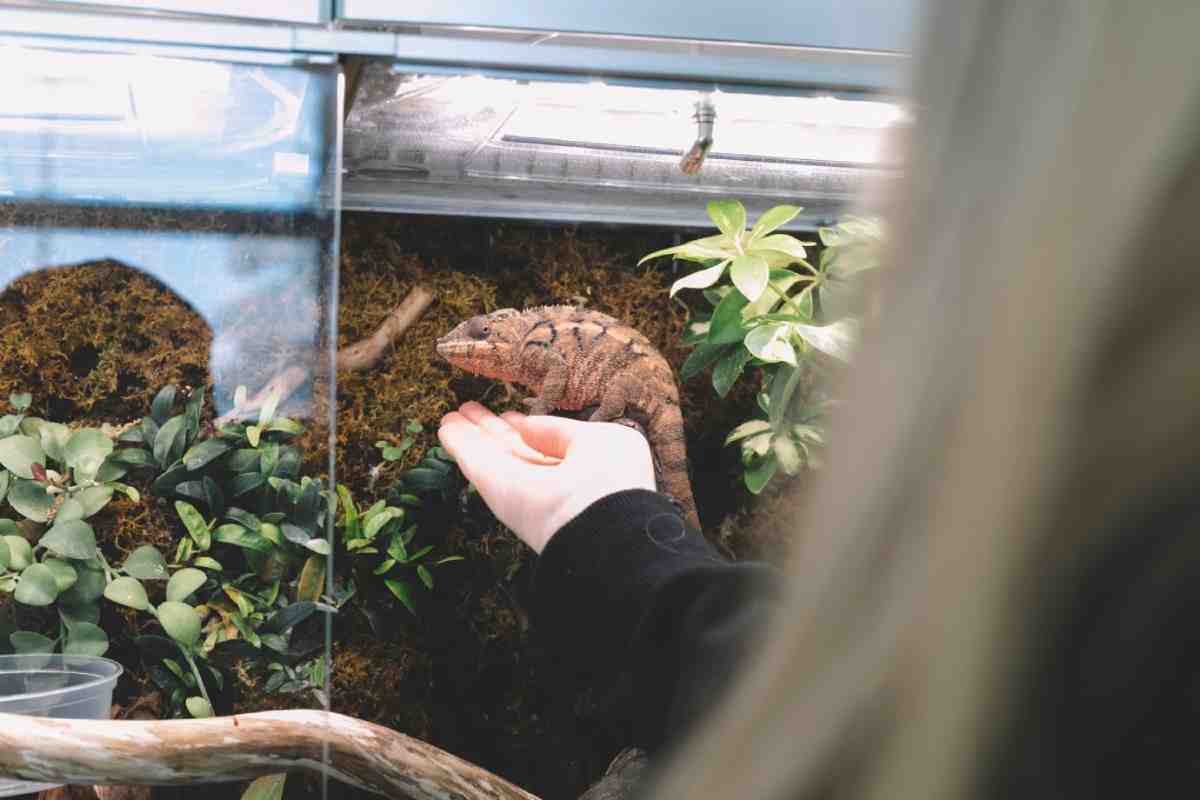
Handle and Calm an Injured Reptile
Injuries are stressful for reptiles — and handling them roughly can make things worse. Here’s how to do it safely:
- Move slowly and confidently
- Wash your hands first (and after)
- Support the body fully
- Avoid squeezing or putting pressure on injuries
- Use a towel if needed for secure handling
- Place the reptile in a clean, soft-lined container for examination
Treating Reptile Wounds at Home
1. Superficial Cuts and Scrapes
What to Do:
- Rinse gently with sterile saline
- Dab dry with gauze
- Apply diluted betadine or chlorhexidine (should look like weak tea)
- Let air dry before returning to a clean enclosure
Do NOT Use:
- Hydrogen peroxide (too harsh)
- Alcohol (causes tissue damage)
- Creams with painkillers like lidocaine or benzocaine
2. Torn Nails
What to Do:
- If bleeding, apply styptic powder or clean cornstarch
- Hold gentle pressure with gauze
- Monitor for swelling or infection
- Trim nails carefully in future to avoid repeats
3. Minor Burns
What to Do:
- Remove your reptile from the heat source immediately
- Rinse with cool, sterile saline
- Do NOT pop blisters
- Apply diluted antiseptic
- Keep the enclosure clean and watch for signs of infection
Any severe burns, blackened skin, or deep damage must be seen by a vet.
4. Tail Drops
Many lizards drop their tails as a defence mechanism. It’s shocking, but not usually dangerous.
What to Do:
- Keep the wound clean and dry
- Use paper towel substrate to avoid contamination
- Apply antiseptic daily
- Avoid handling for a week or more
Note: Not all reptiles regrow their tails.
5. Stuck Shed
Retained shed can cut off circulation — especially around toes and tails.
What to Do:
- Soak the reptile gently in lukewarm water for 10–15 minutes
- Use a soft cotton swab to loosen shed
- Do NOT pull hard — let it come off naturally
- Repeat soaks daily if needed
For Eye Caps: See a vet. These can cause long-term damage if not removed safely.
When to See a Vet
Even if an injury seems minor, it’s always better to ask a professional. Reptiles heal slowly, and infections spread quickly.
Contact a Vet If:
- Wound smells bad or oozes pus
- Swelling increases after a day
- Your reptile stops eating
- There’s blood in stool or from the mouth
- You see broken bones, deep wounds, or burns
- You’re unsure or uncomfortable treating the injury
Pro tip: Find an exotic vet before you need one. Keep their number saved for emergencies.
Prevention: The Best First Aid
Most injuries are preventable. Here’s how to keep your reptile safe in the first place.
Safe Enclosure Setup:
- Remove sharp rocks or plastic
- Secure basking lamps with guards or stands
- Use branches and hides that won’t fall
- Avoid loose mesh or hammocks that trap claws
Monitor Regularly:
- Check for stuck shed after each cycle
- Watch for worn nails or tail damage
- Clean your reptile’s feet and skin during baths
Handle With Care:
- Avoid sudden grabs or lifting by the tail
- Support the body and keep them calm
- Never force your reptile to walk or move when weak or shedding
Good husbandry = fewer injuries and faster healing.
Confidence Comes With Preparation

Minor injuries happen — even with the best care. The key is to stay calm, act quickly, and know when to call in expert help.
By learning the basics of reptile first aid, understanding how to approach treating reptile wounds, and maintaining good exotic pet injury care, you’re not just helping your pet heal — you’re showing real responsibility as a keeper.